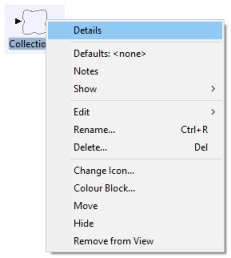
 When you create an empty collection element, the corresponding icon menu only has one menu item for data, Details, which shows the ‘top-level’ dialog for the collection, with fields for the Label and a list of associated Elements.
This list will be updated automatically whenever you link elements to the collection, as described above.
You can also insert elements into this list directly if you want to control the order in which the elements are displayed:
-
Select the Elements field within the Details dialog, and click in the list at the position you would like to insert the element.
-
Select Insert Element into List… from the dialog Edit menu. The Insert Element dialog will be displayed.
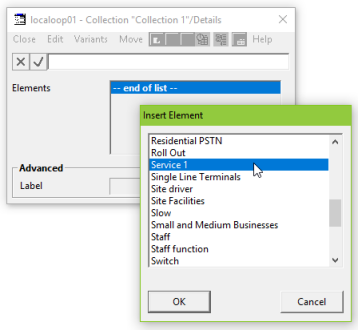
Figure 1: The collection Details and Insert Element dialogs
- If no tabular dialogs for this collection are open, you can insert elements of any type in the model, other than those elements already associated with this collection. In this case there is no
<new element>
option. Otherwise the choice is limited to the remaining elements of the same type as those already in the collection, or a new element of that type.
-
Double-click on the selected element, click OK, or press <Enter> to insert the element into the list. You will see the corresponding link appear between the icons for the collection and the element.
Note: You can insert elements at the end of the list directly by double-clicking on the
– end of list –
marker.
Note: The Insert command will not do anything if there are no tables open and the collection already contains every other element in the model.
You can also use the dialog Edit menu to remove elements from the list, or rename them (equivalent to renaming the elements separately, from their icons).
Using the extended collection menu to edit element data
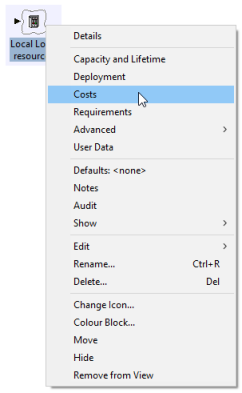 When a collection is associated with a number of elements of a given type, the icon menu for the collection is extended to show all the usual data items for that type. For example, the icon menu for a collection of resources will inherit the usual resource data items.
When you select, e.g., Costs, a tabular dialog is created showing cost data side-by-side for each of the resources associated with the collection. The fact that all the other resources in the model are excluded makes it much easier to compare the related data.
If you add further elements to this collection, the tabular dialog will automatically expand to show the corresponding data. Elements added from the toolbar or via drag-and-drop will be added to the end of the table, whilst those inserted in the list from the Collection dialog will appear in order.
Note: If you add another element of a different
type from those already in the collection, all tabular dialogs for that collection will be closed.
Note: It is not possible to view certain categories of data in a tabular dialog. If you select Resources Required for a collection of services or transformations, or services for a collection of market segments, you will be prompted to choose one of the elements associated with that collection.
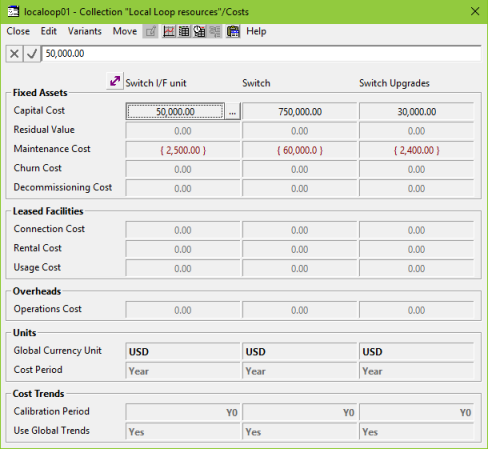
Figure 2: The Costs dialog for a collection of resources
Inserting an element directly into a tabular dialog for a collection
You can also insert elements directly into one of these tables:
-
Select Insert Element… from the tabular-dialog Edit menu. If there are no elements of the appropriate type in the model, other than those already associated with this collection, one will be created immediately. Otherwise the Insert Element dialog will be displayed, as described above.
-
Select one of the existing elements; or <new element>, if you wish to create one.
-
Double-click on the selected element, click OK, or press <Enter> to insert the element into the list. A column for the new element is inserted into the table, the collection Elements list is updated and again you will see the corresponding link appear between the icons for the collection and the element.
Note: By default the new element will be inserted at the current column in the table. Hold down the <Shift> key if you want to insert the element
after
the current column – this is the only way to append an element to the table.
Again you can use the tabular-dialog Edit menu to remove elements from the table, or rename them (equivalent to renaming the elements separately, from their icon). Tabular dialogs for the element data associated with a collection will always be kept in step with the list of elements and the corresponding links between the icons for the collection and the associated elements.
Note: When editing data for a collection you may find it useful to move from one tabular dialog to another via the dialog Move menu, rather than having to return to the icon menu – see 4.5.1 Accessing data dialogs.