- Go to the Start menu in Windows, and locate STEM on the Programs menu. Here you will find various shortcuts, including STEM Model Editor, which is how we will typically start STEM.
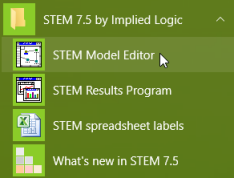
All of the functionality of STEM can be accessed directly from the STEM Model Editor, and these other shortcuts are just provided for the sake of convenience.
STEM incorporates a comprehensive documentation/help system available online (if connected) or from a static offline help image installed with the software. It can be accessed at any time by pressing <F1> while in the STEM Editor or Results program.
- Click STEM Model Editor to start STEM. The STEM Model Editor (hereinafter referred to as ‘the Editor’) loads, and looks like this:
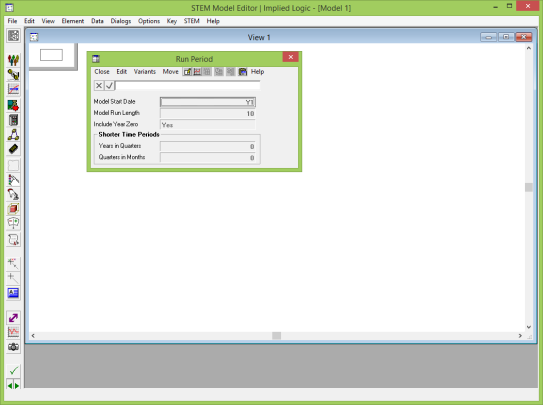
Here you can see the main menu (File, Edit, View, …), the toolbar, a view window for Model1, and the Run Period dialog (also for Model1).
In fact, we are going to start with an existing, prepared model.
- Select Open from the File menu, or press <Ctrl+O>. The Open Model dialog is displayed.
Browse to a folder called WiMAX-DSL (your training instructor will advise on the location if not immediately apparent) and then select the model file of the same name, WiMAX-DSL.
Windows is usually configured to hide file extensions, but if this is not so on the machine you are working on, then you will see WiMAX-DSL.dtl.
-
Double-click the filename or click Open to open the model. STEM loads the WiMAX-DSL model, which appears as shown below.
(The unmodified Model1 is closed in the background.)
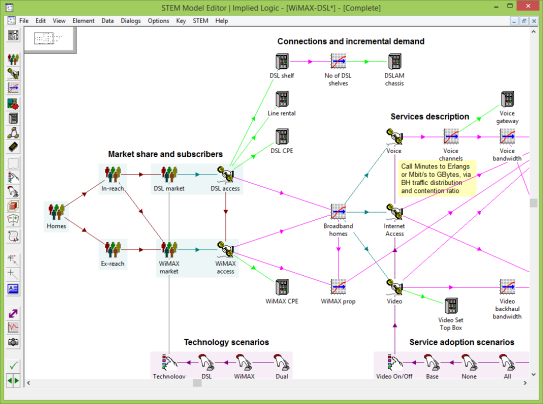
Here you will see each of the elements of this model displayed as icons in the view window. Take some time to explore the model and read the names of these elements.
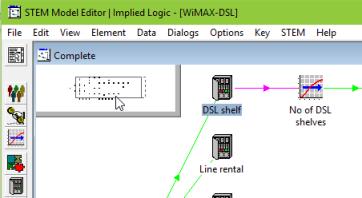
The Zoom window in the top-left of the view shows a miniature picture of the entire view, with an inner rectangle indicating the portion which is currently visible.
- Click and drag this inner-rectangle to scroll in both directions at once.
Elements 
Service elements,  , capture assumptions for demand and tariff.
Resource elements,  , represent unit costs and build constraints for hardware, software, licences, buildings and human resources.
These are the most important elements in STEM as they respectively drive all of the revenues and costs in a model. The other types of element will be explained in context as we proceed through the exercises.
You can create as many elements as you like from the toolbar in order to capture the level of detail required for a given analysis.
Each icon provides direct access to the related input data:
- Right-click the service icon for DSL access. An icon menu is displayed with several groups of items.
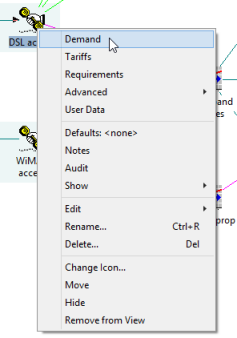
The first group are the primary and element-specific inputs such as Demand, Tariffs and Requirements, Advanced inputs and User Data. The remaining items are common to all element types and help to control the element.
-
Select Demand. The Service Demand dialog is displayed.
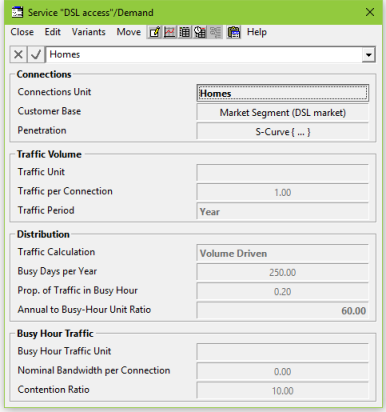
This dialog gathers all of the primary assumptions relating to the service demand, which we will explain in later exercises. For now, don’t change anything; just try to get a feel for the range of available inputs.
-
Select Close from the dialog menu, or click
 at the top-right of the dialog, or press <Alt+F4> to close the dialog.
- Repeat the last two steps to explore the inputs for Tariffs.
- Select the resource icon for DSL shelf and explore the inputs for Capacity and Lifetime, and also for Costs.
- Finally, close all of the data dialogs you have explored so far.
 Things that you should have seen and understood
View, zoom window, element, icon, icon menu, data dialog.
Service, resource.