In the first part of this tutorial, we are going to open the STEM Editor and create the basic elements required to build a simple model.
- Go to the Start menu in Windows and locate STEM. Click on the STEM Model Editor to open it.
- You can see the main menu (File, Edit, View, …), the toolbar on the left, a view window for Model 1 and the Run Period dialog.
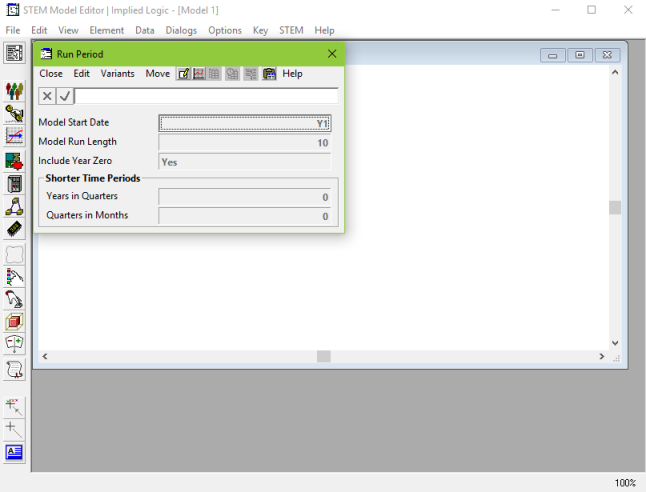
Figure 1: The STEM Model Editor
- Close the Run Period dialog by clicking on the
 in the top right-hand corner.
STEM has tailor-made service, resource and location elements that can be used to represent the three dimensions outlined in the previous section.
-
Service: defines the number of subscribers. It can be a source of revenue or, more generally, it describes the load on the business per subscriber.
-
Resource: some equipment or capability; has a capacity, a lifetime and associated costs.
-
Location: defines the breadth of the geographical scope, but doesn’t go into specifics about the geographical location.
- We will use the toolbar on the left hand side to create a service, a resource and a location element.
- Left-click on the service button
 and click again in the view window where you would like to create the service. It will be named automatically as Service 1.
Tip: press <F2> with the service element selected to access the Rename Element dialog if you would like to call it something different.
- Left-click on the resource
 and location
  buttons in the same way to create elements called Resource 1 and Location 1, respectively.
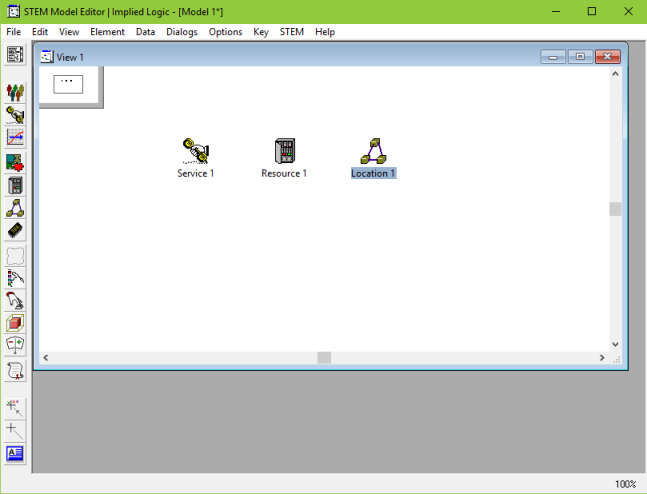
Figure 2: View containing service, resource and location elements
- Save your model by selecting File/Save and calling it One-hour tutorial demo v01 or similar.
You have now created the basic elements to build a STEM model.
 Things that you should have seen and understood
Generic model
Service, resource and location elements
Creating elements